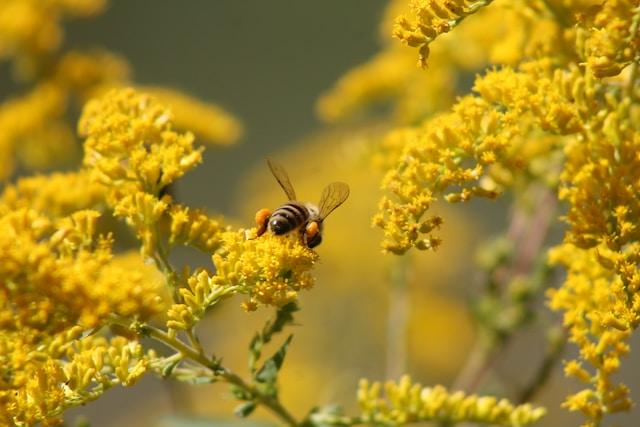
During the scorching summer months, it’s important to be proactive to protect and maintain your landscape. The intense heat and dryness can be detrimental to plants, grass, and trees, leading to wilting, discoloration, and even death if left unattended. Even sturdy trees, the backbone of your landscape, can succumb to the unforgiving conditions, with leaves turning crisp and branches becoming bare.
By implementing strategies like consistent watering, strategic mulching, and selective pruning, you can ensure your outdoor oasis thrives even during the most challenging summer conditions. Regular inspections can help identify problems early, allowing you to address them before they escalate.
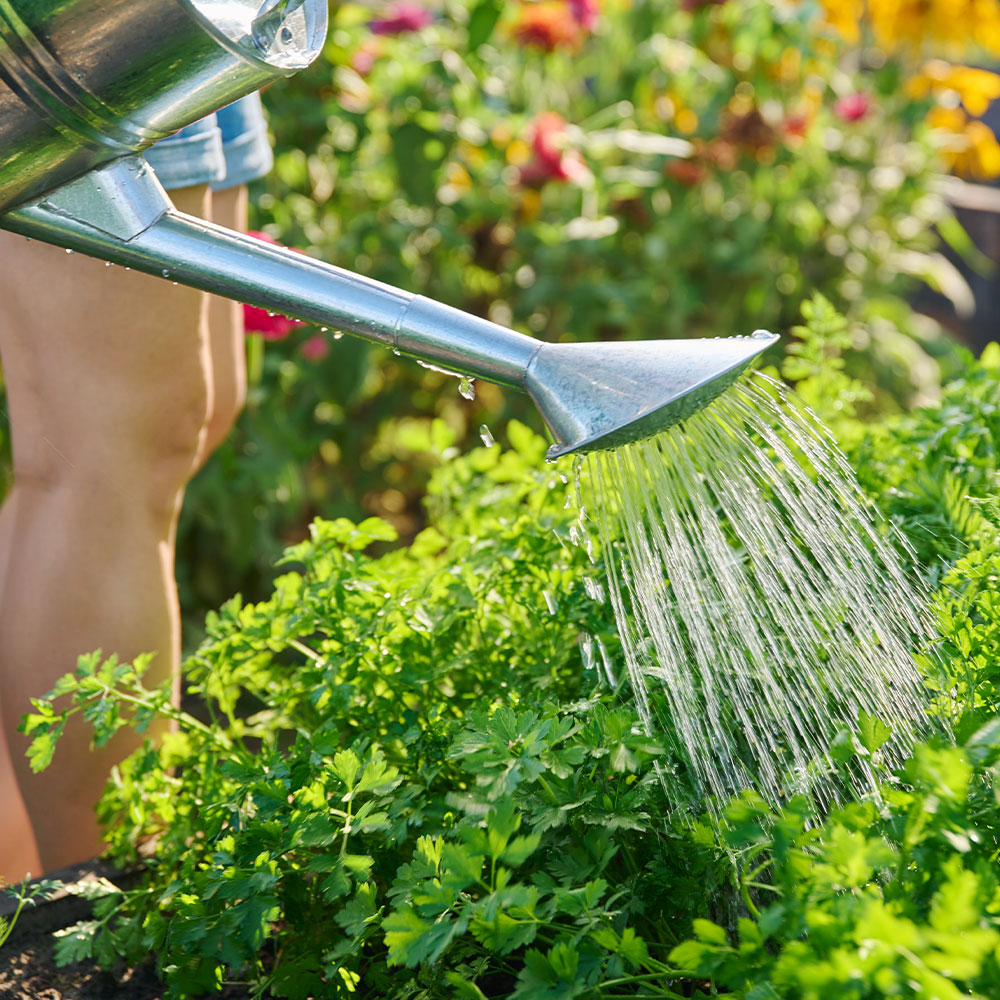
Change your plant watering routines
During the hot summer months, it becomes crucial to adapt your gardening practices to ensure the health and vitality of your plants. Increased watering is essential, as plants transpire more rapidly, leading to quicker soil drying. Pay close attention to the specific needs of each plant, as some may require more frequent watering than others.
Provide some shade
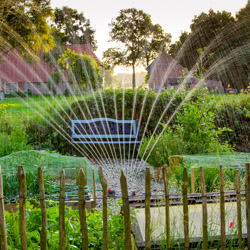
Providing shade for delicate plants is another vital step to protect them from the harsh summer sun. Direct, intense sunlight can scorch leaves and cause wilting, ultimately stunting growth or even leading to plant death. Consider using shade cloths, strategically placing taller plants to cast shadows, or relocating sensitive plants to areas with partial shade.
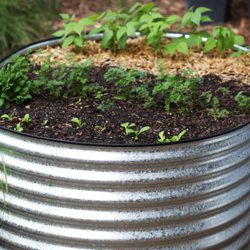
Mulching around plants can help retain moisture in the soil, reducing the need for frequent watering and protecting the roots from excessive heat. Regularly monitoring soil moisture levels and adjusting your watering schedule accordingly is crucial during the hottest months.
The more you do the better
By taking proactive measures to address the challenges of summer heat, you can ensure your garden thrives and your plants remain healthy and vibrant throughout the season. Prevention is key, and adapting your gardening practices to the changing weather conditions will pay off in the form of a lush, flourishing garden.
Don’t let the summer heat catch you off guard. Invest the time and effort now to safeguard your property’s natural beauty, and you’ll reap the rewards of a healthy, stunning landscape all season long.


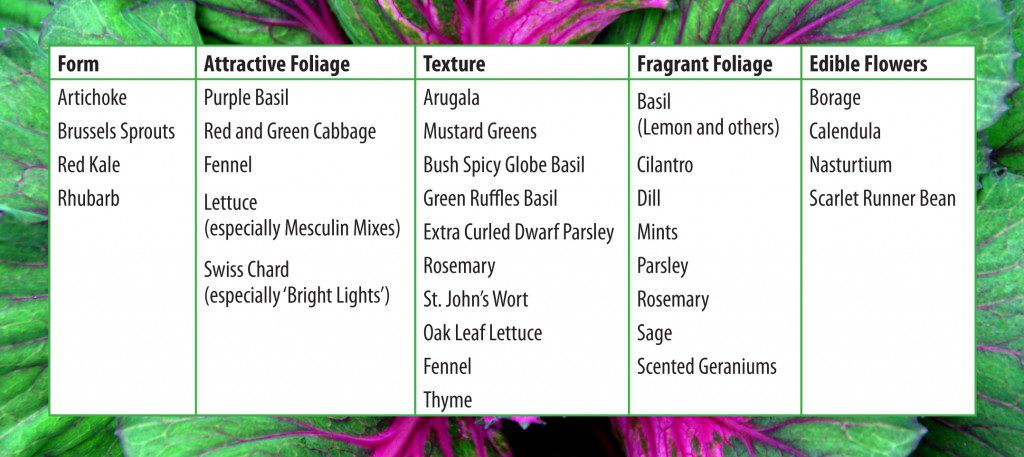
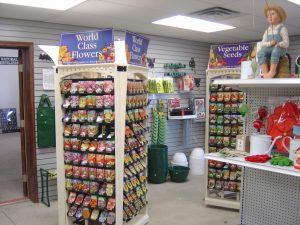
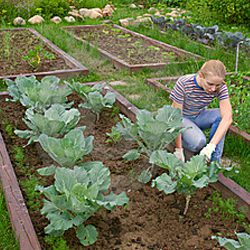 Traditionally, when planning a vegetable garden, the focus has been primarily on function with aesthetics as an afterthought – a productive harvest has usually been more important than any visual appeal. This year, why not try a new approach? Thoughtfully combine beauty and performance to create an edible garden that will explode with a variety of color and an abundance of produce. It can truly be a feast for the eyes as well as the table!