
Rejoice! You no longer need hedgerows, trellises or complicated stakes to grow succulent raspberries. You won’t need armor-like gloves either. Now you may grow thornless raspberries in your garden or in containers on your patio, deck or front porch.
Introducing Raspberry Shortcake™
Developed in Oregon after decades of intense breeding for the most desirable plant characteristics, Raspberry Shortcake™ (Rubus idaeus ‘NR7’) is the first truly dwarf raspberry. Growing just 2 ½ to 3 feet tall with a compact, mounding shape, it is covered with full-sized sweet raspberries from mid-summer through fall. Deciduous in the winter, it produces new canes in the spring to bear even more fruit. It is self-fertile so does not require multiple plants to bear fruit, but its size, appearance and juicy berries are too good to plant just one.
Planting Your Raspberry Shrub
Well-drained, rich soil produces the best and most abundant fruit from these shrubs, and neutral pH (7.0) is preferred. If planting in a container, be sure to use a potting mix especially for containers to ensure adequate nutrition to the plant. If planting in the landscape, choose a location in full sun with moderate room suitable for some spreading, such as bordering a hedge or along a walkway that will help guide the growth and expansion. Water regularly for plump, juicy berries. A well-balanced fertilizer in early spring and summer increases plant vigor and production.
Pruning is simple, just remove the oldest canes after fruiting and enjoy the fruits on the new ones in spring. Avoid trimming away new growth, or you may miss out on future harvests, but any dead canes can easily be pruned away to keep the plant healthy and productive, as older canes will not produce new fruit.
Protecting Your Berries
It is important to note that these berries can be just as irresistible to birds and other backyard wildlife as they are to gardeners of all ages and abilities. To protect the berries so there are some left for you to enjoy, it may be necessary to use netting or other types of covers over the shrubs after the berries first appear in the summer. After the fruiting is finished, the covers can be removed.
Raspberry Shortcake™ is so simple, safe and easy, it doesn’t matter what color your gardening thumb may be, what experience you have harvesting berries or even if you’ve never grown anything to eat before – even young children can grow and harvest these mouth-watering raspberries with ease!


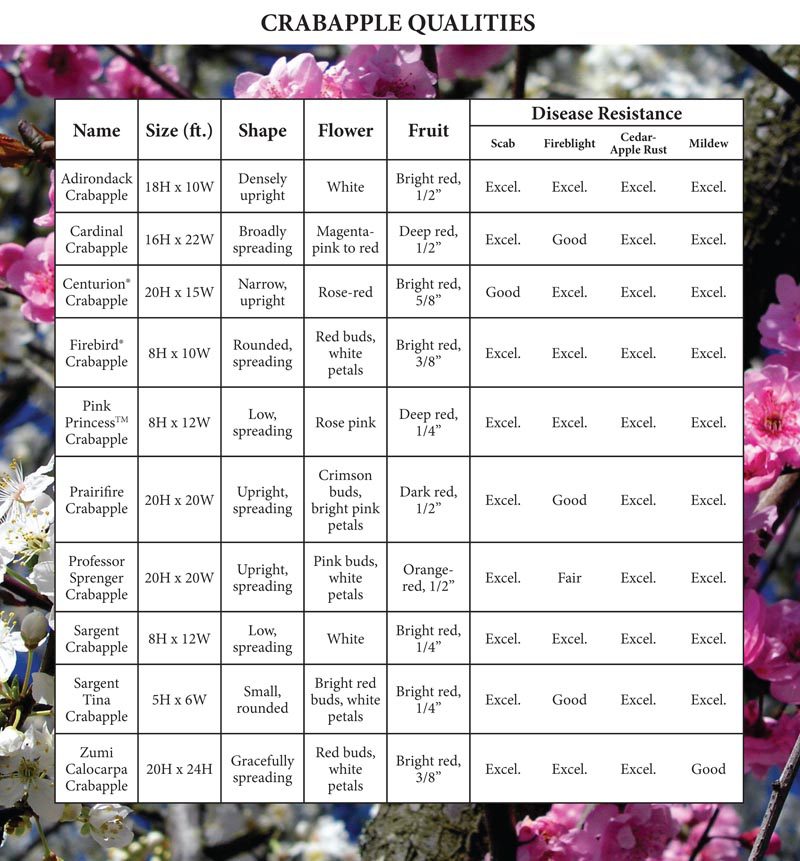
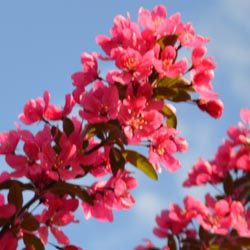 Crabapple trees in flower are a sight to behold. They are the showstopper trees of spring, and are compact enough to fit in nearly any size, shape or style of landscape. But how will you pick the variety that is best for you?